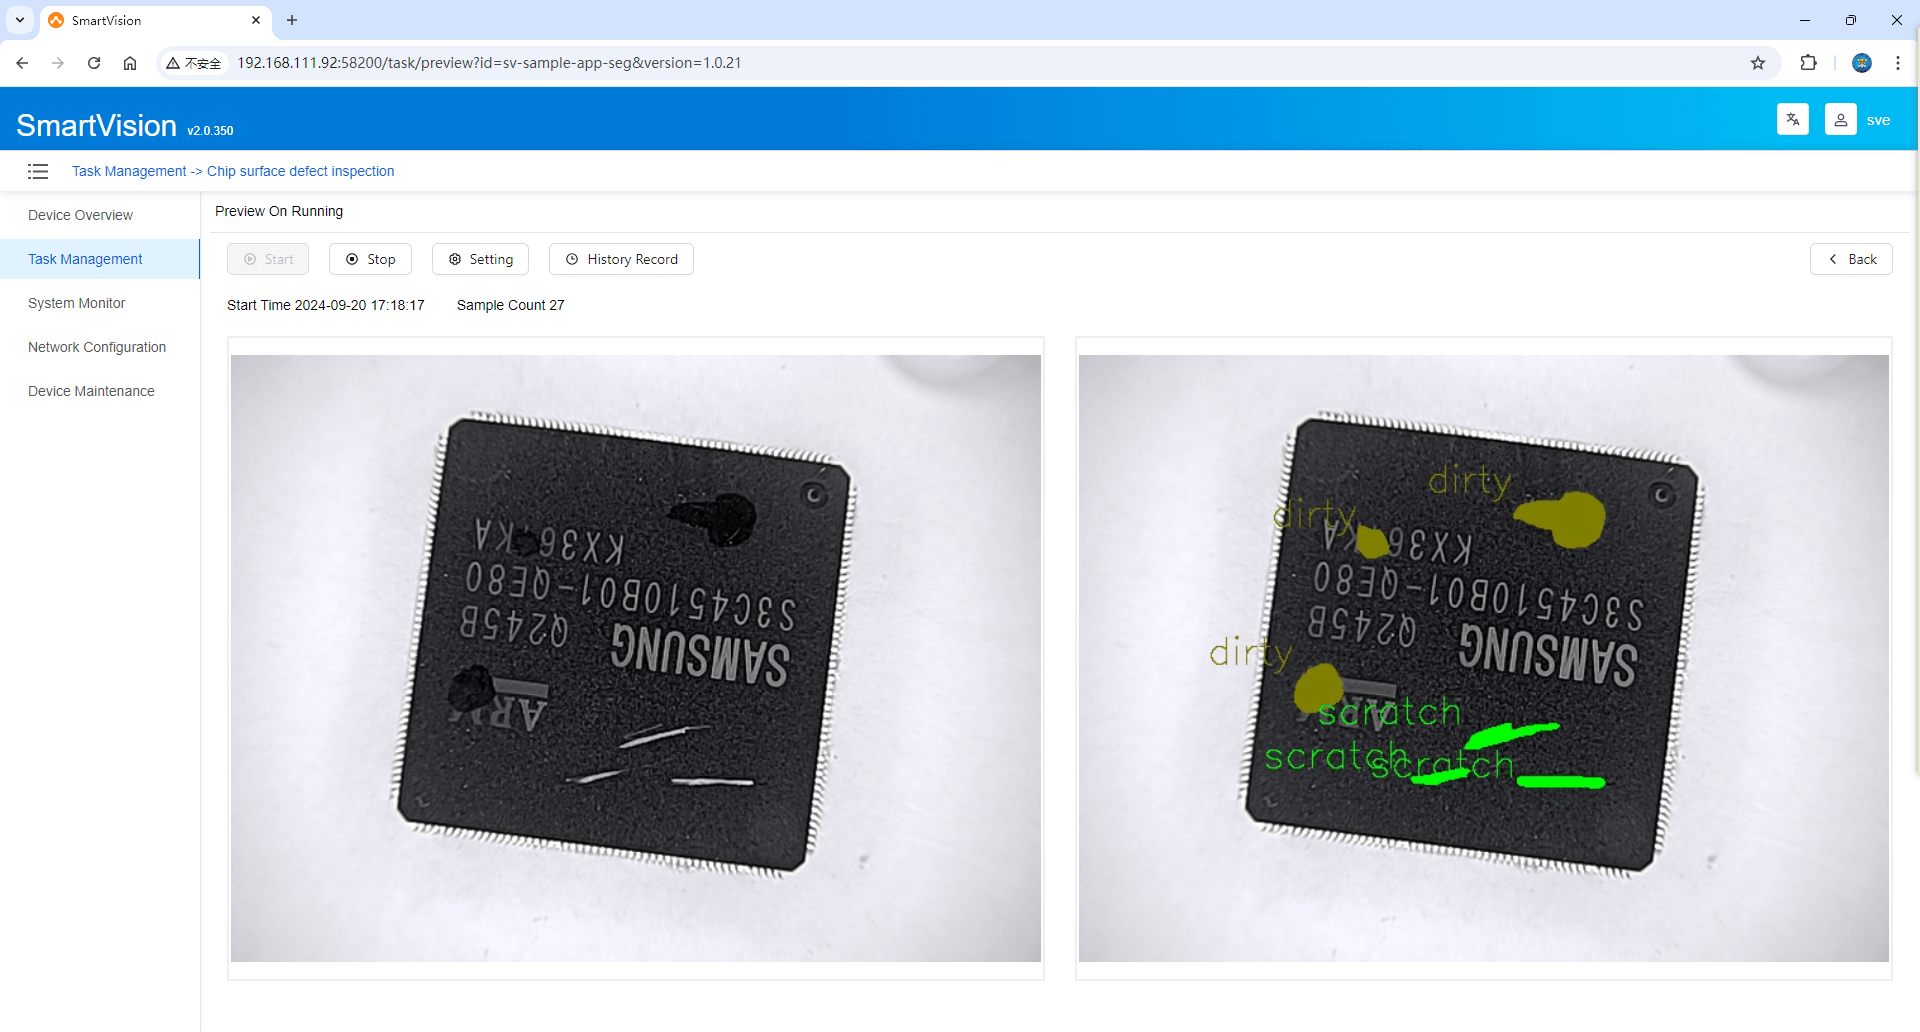
Step 4: Generate and deploy the application with one click from AI Creator
AI application generation
- Open the browser and log in to AI Creator. Click [Project Center] to enter the project list. Find the [Chip Segmentation] project that has been trained ( please refer to the AICreator user manual for how to train the AICreator model ), and click [Enter Project] to view the model details. As shown below:
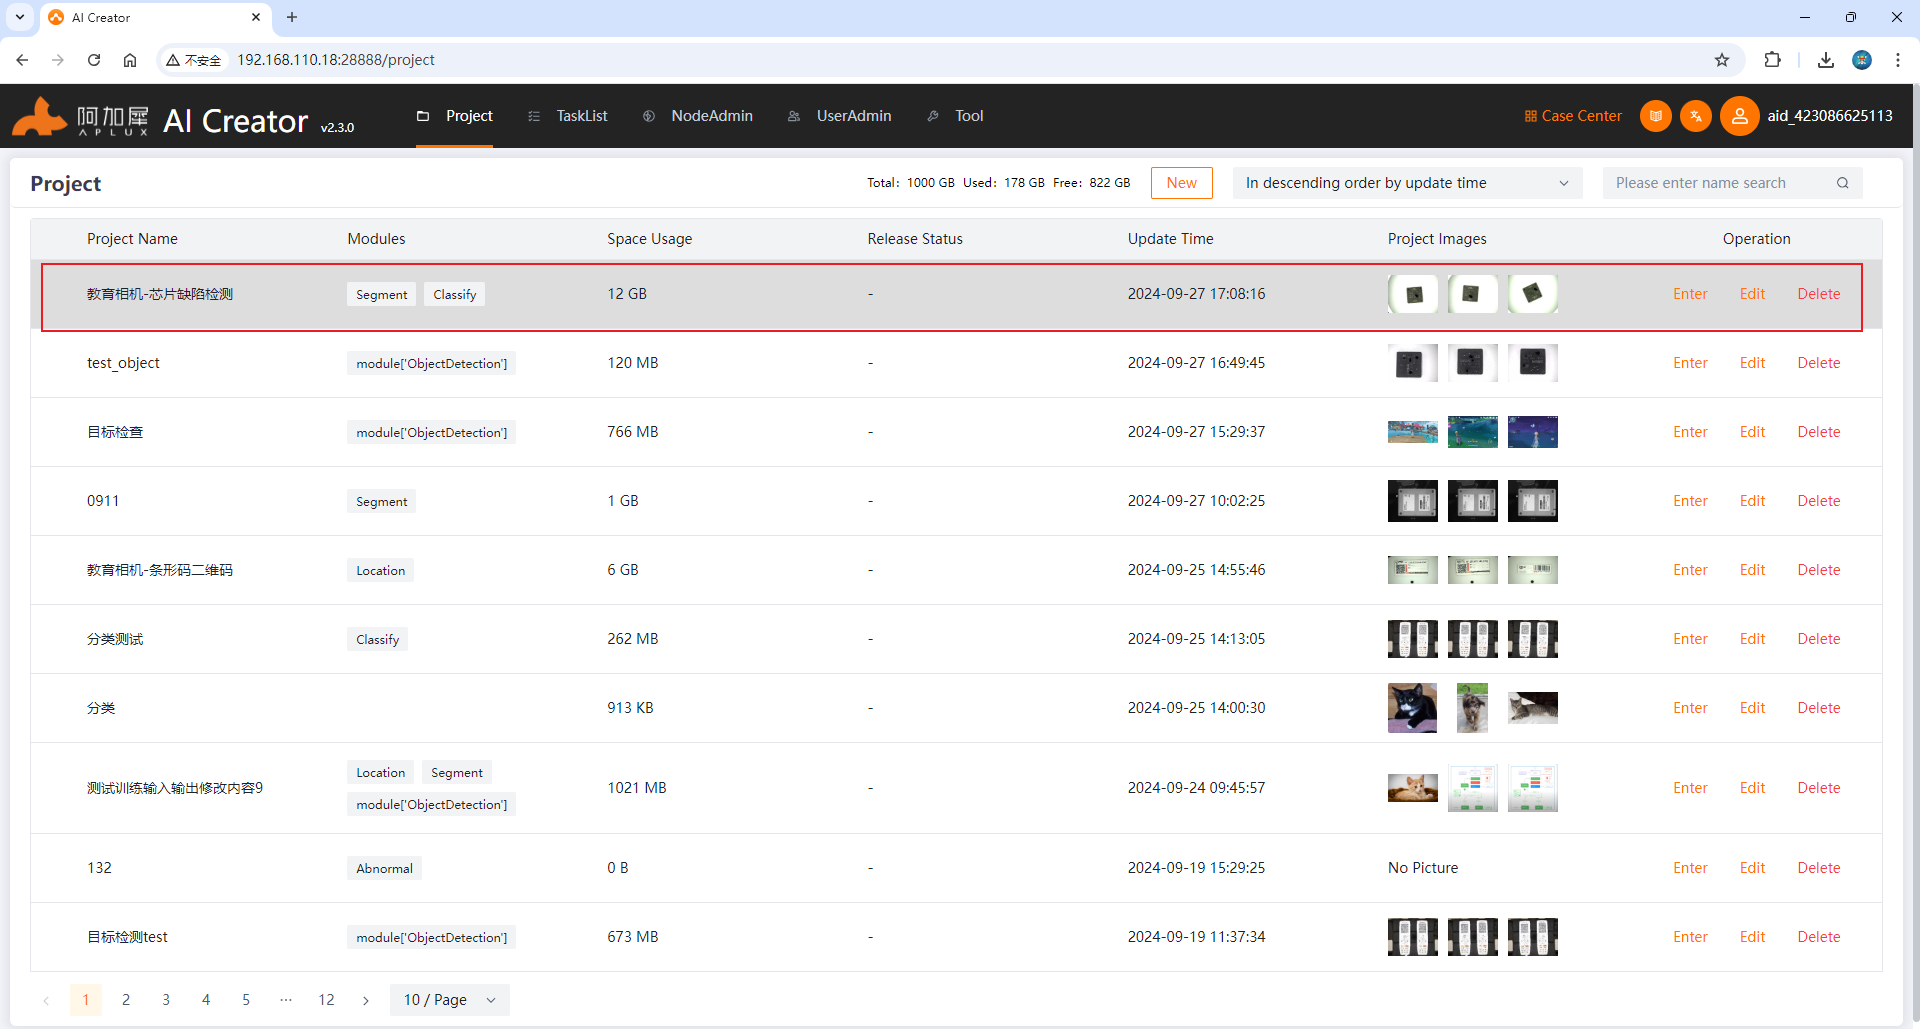
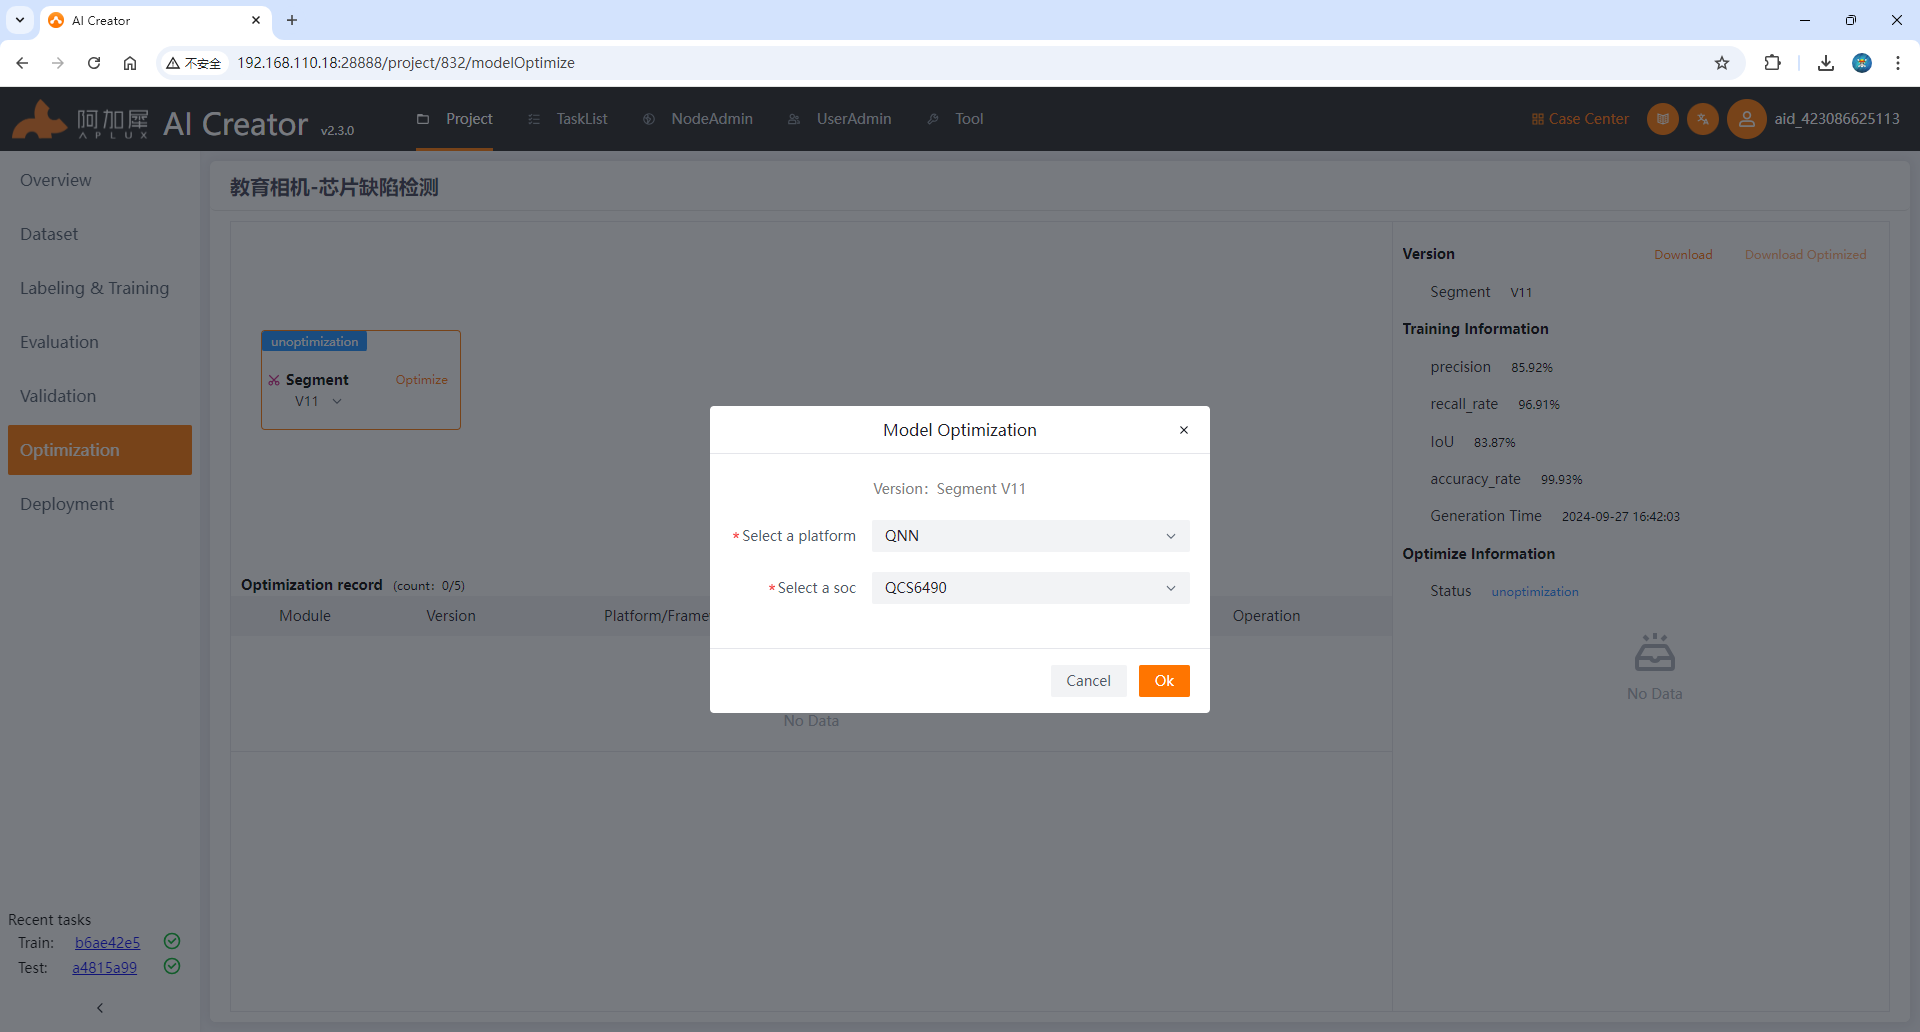
Note: Since the model is trained on the x86 platform, if you want to run it on a smart camera or edge, you need to optimize the model. AICreator has built-in AIMO model optimization function and supports one-click optimization and advanced optimization. For the chip model of the device running the model, a series of parameters are preset for one-click optimization. The user only needs to select the chip model of the device running the model. The smart camera chip model used in our experiments is QCS6490, and it is recommended to convert the model to QNN format for running.
- Click the [ Model Optimization ] tab on the left, in the optimization release interface, click [ One-click Optimization ], select the QNN format and QCS6490 chip model to complete the model optimization.
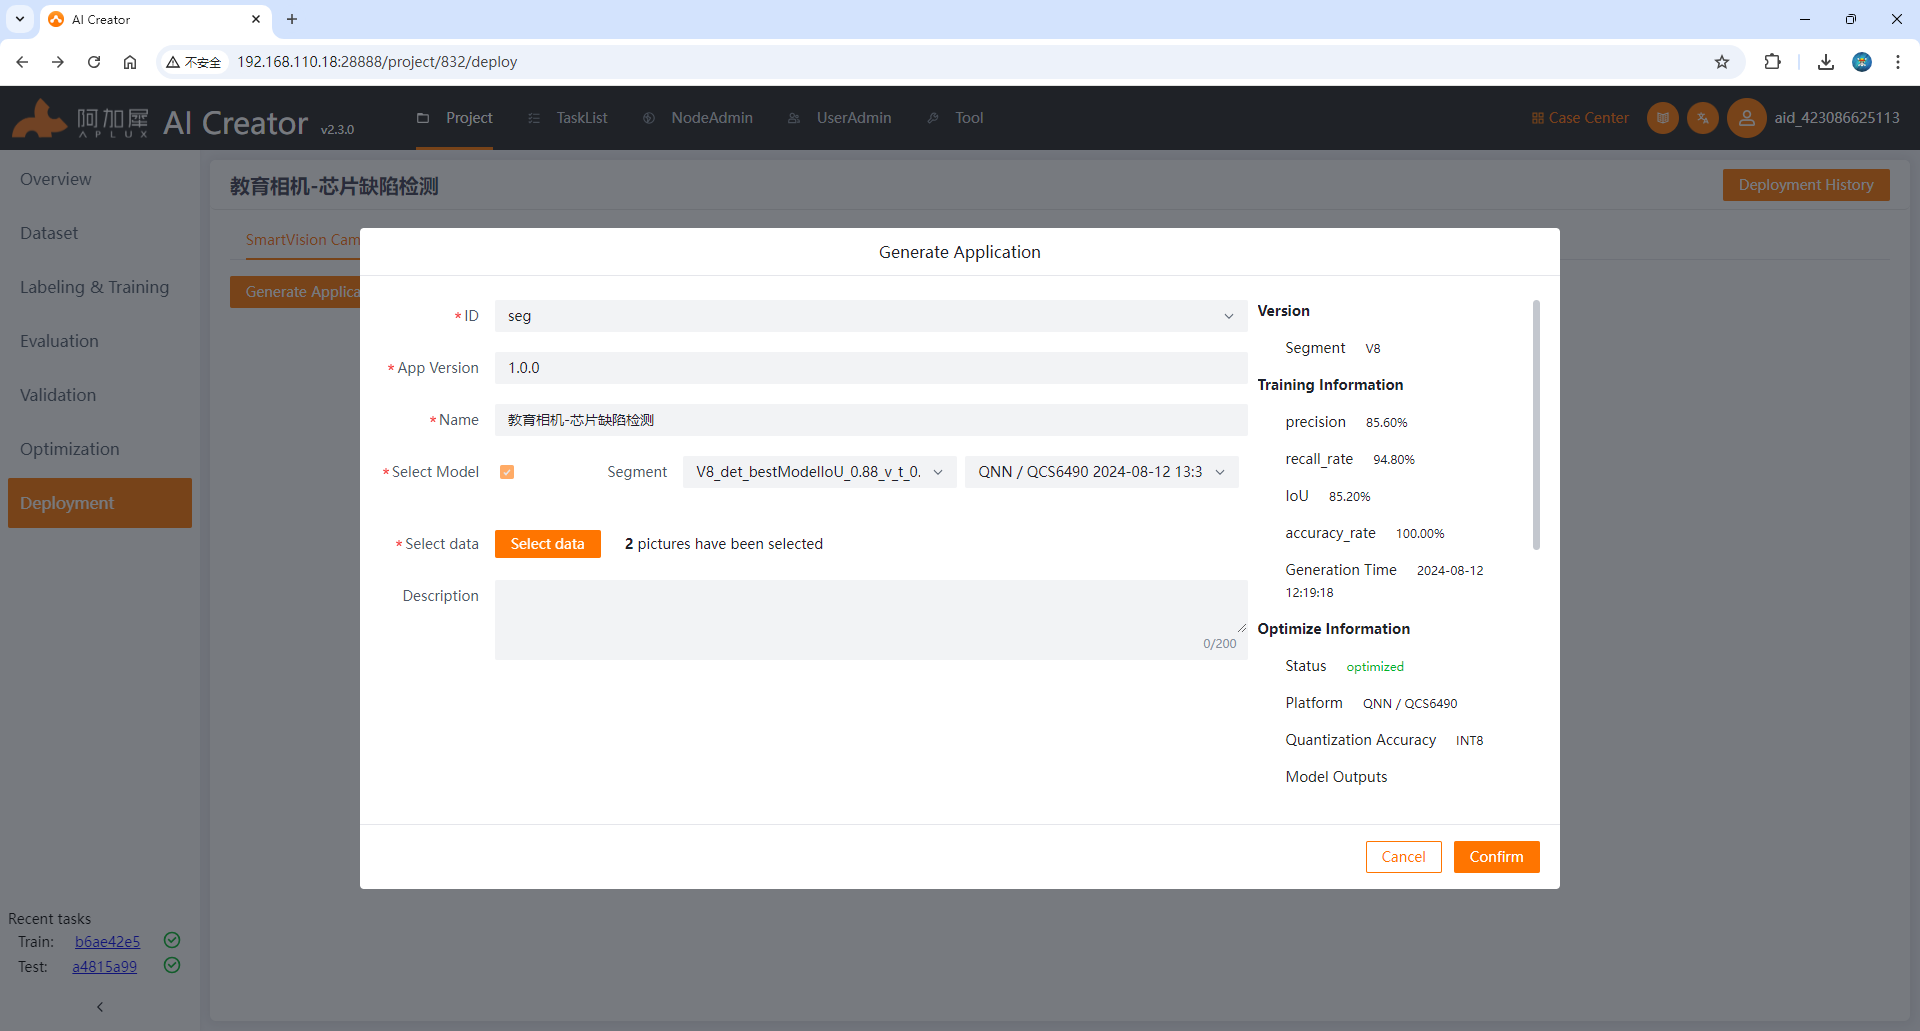
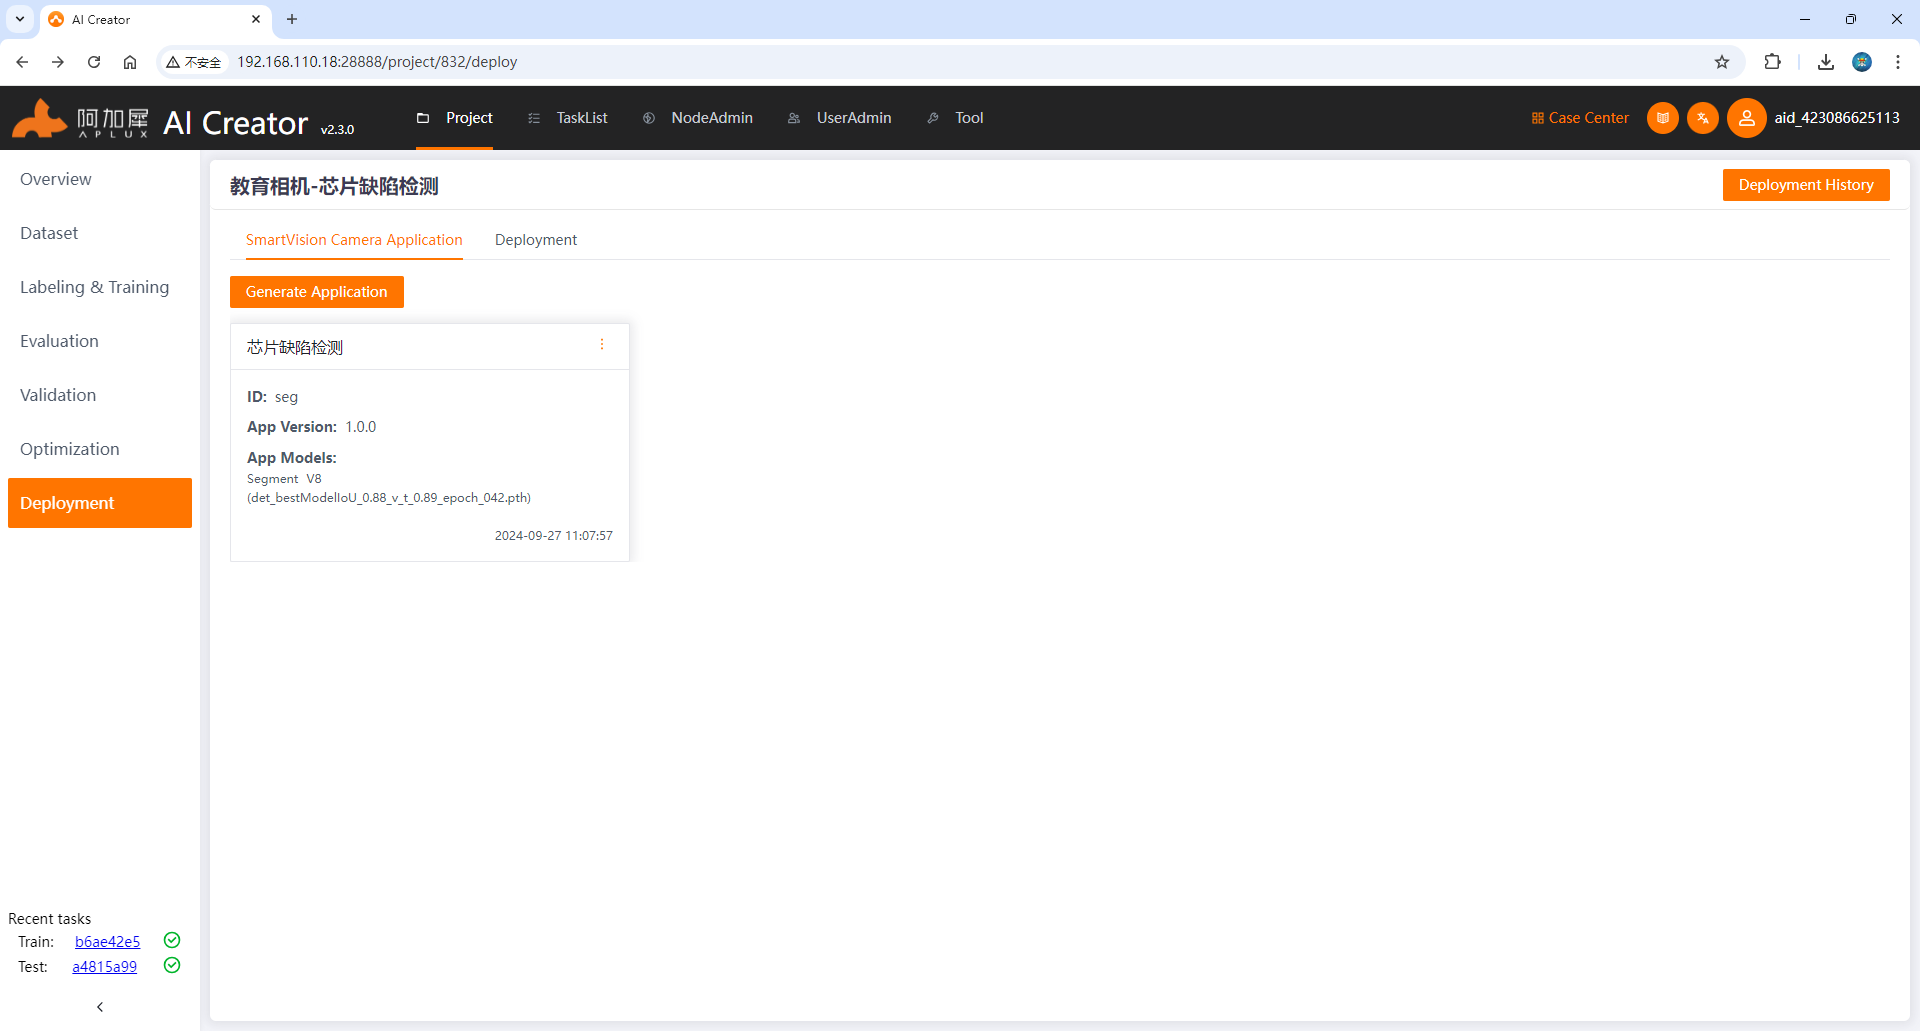
- Click the [ Deployment] tab on the left, click [Generate Smart Camera Application], fill in the application information such as application ID, application version, application name, select the image data and click OK to generate the AI application.
Deploy AI applications to cameras
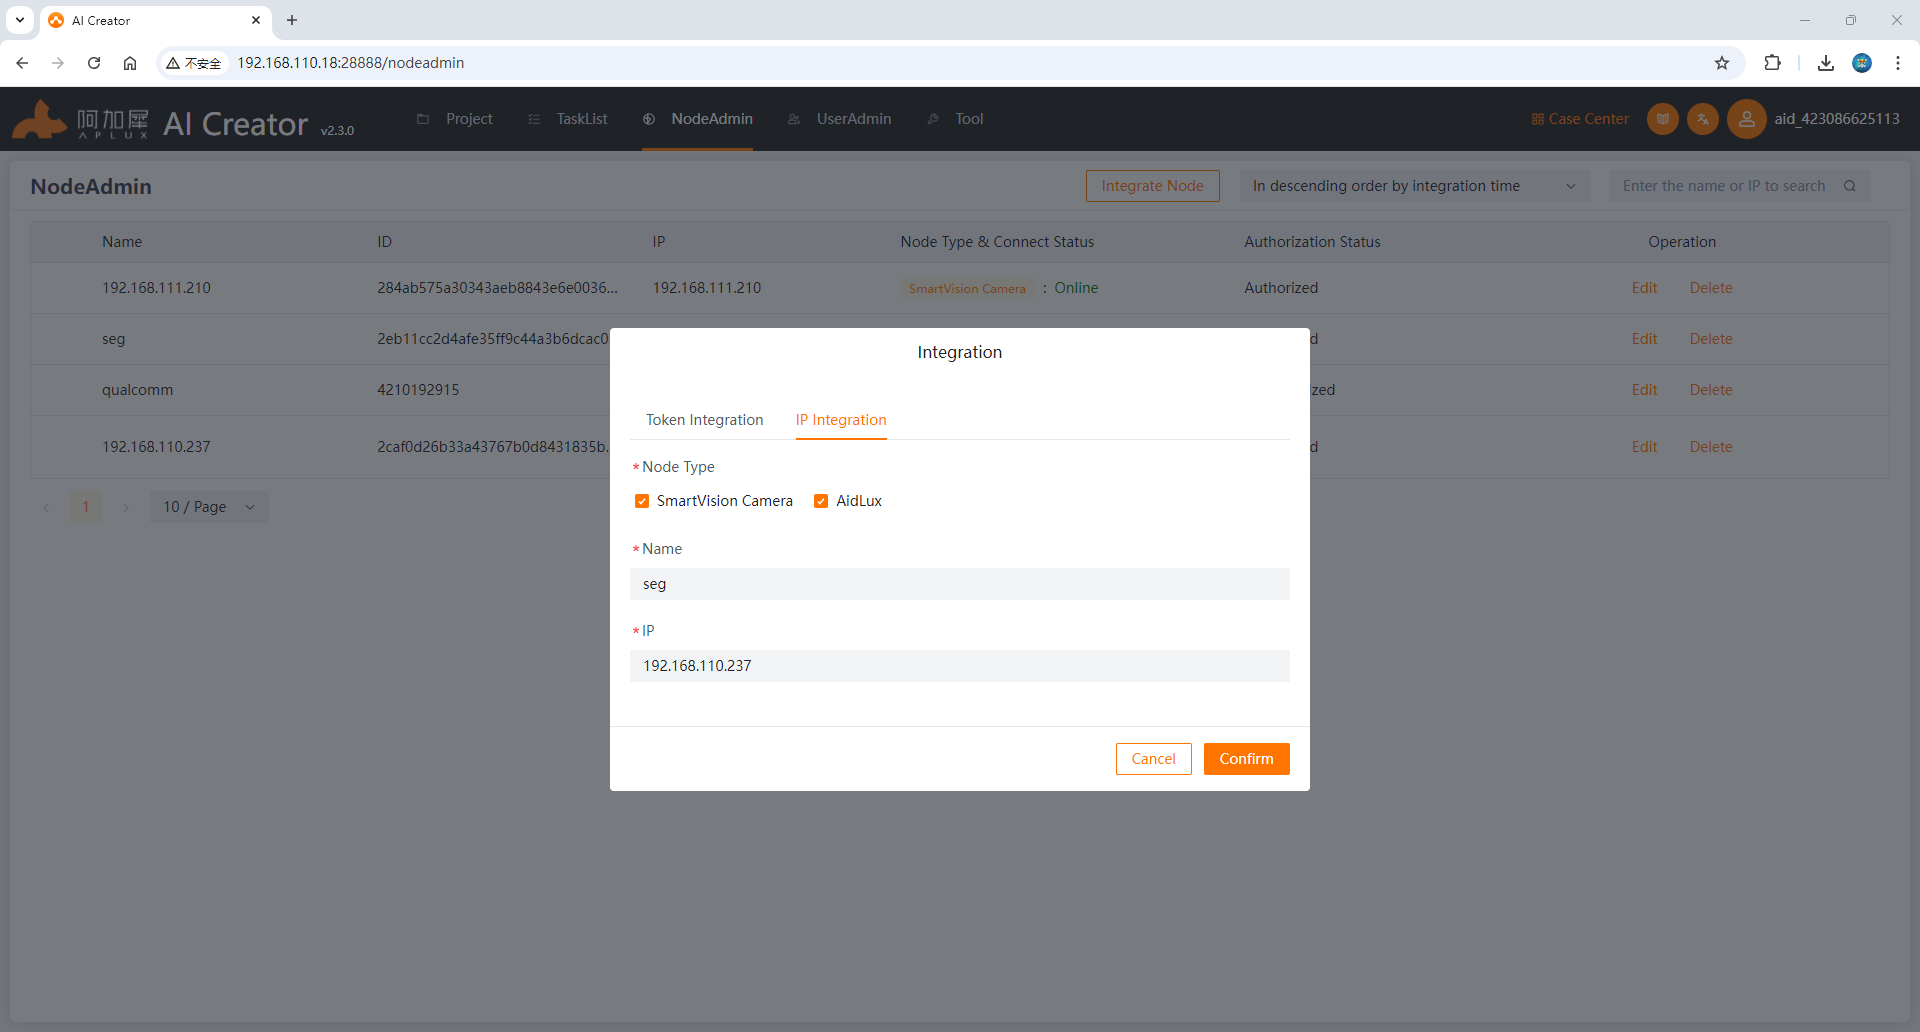
- On the node management page, click the [ Integrate Node ] button and enter the node name and the IP address of the smart camera in the pop-up form (for how to check the smart camera IP, please refer to "Step 2: Configure Device Information"). After completing the input, click OK.
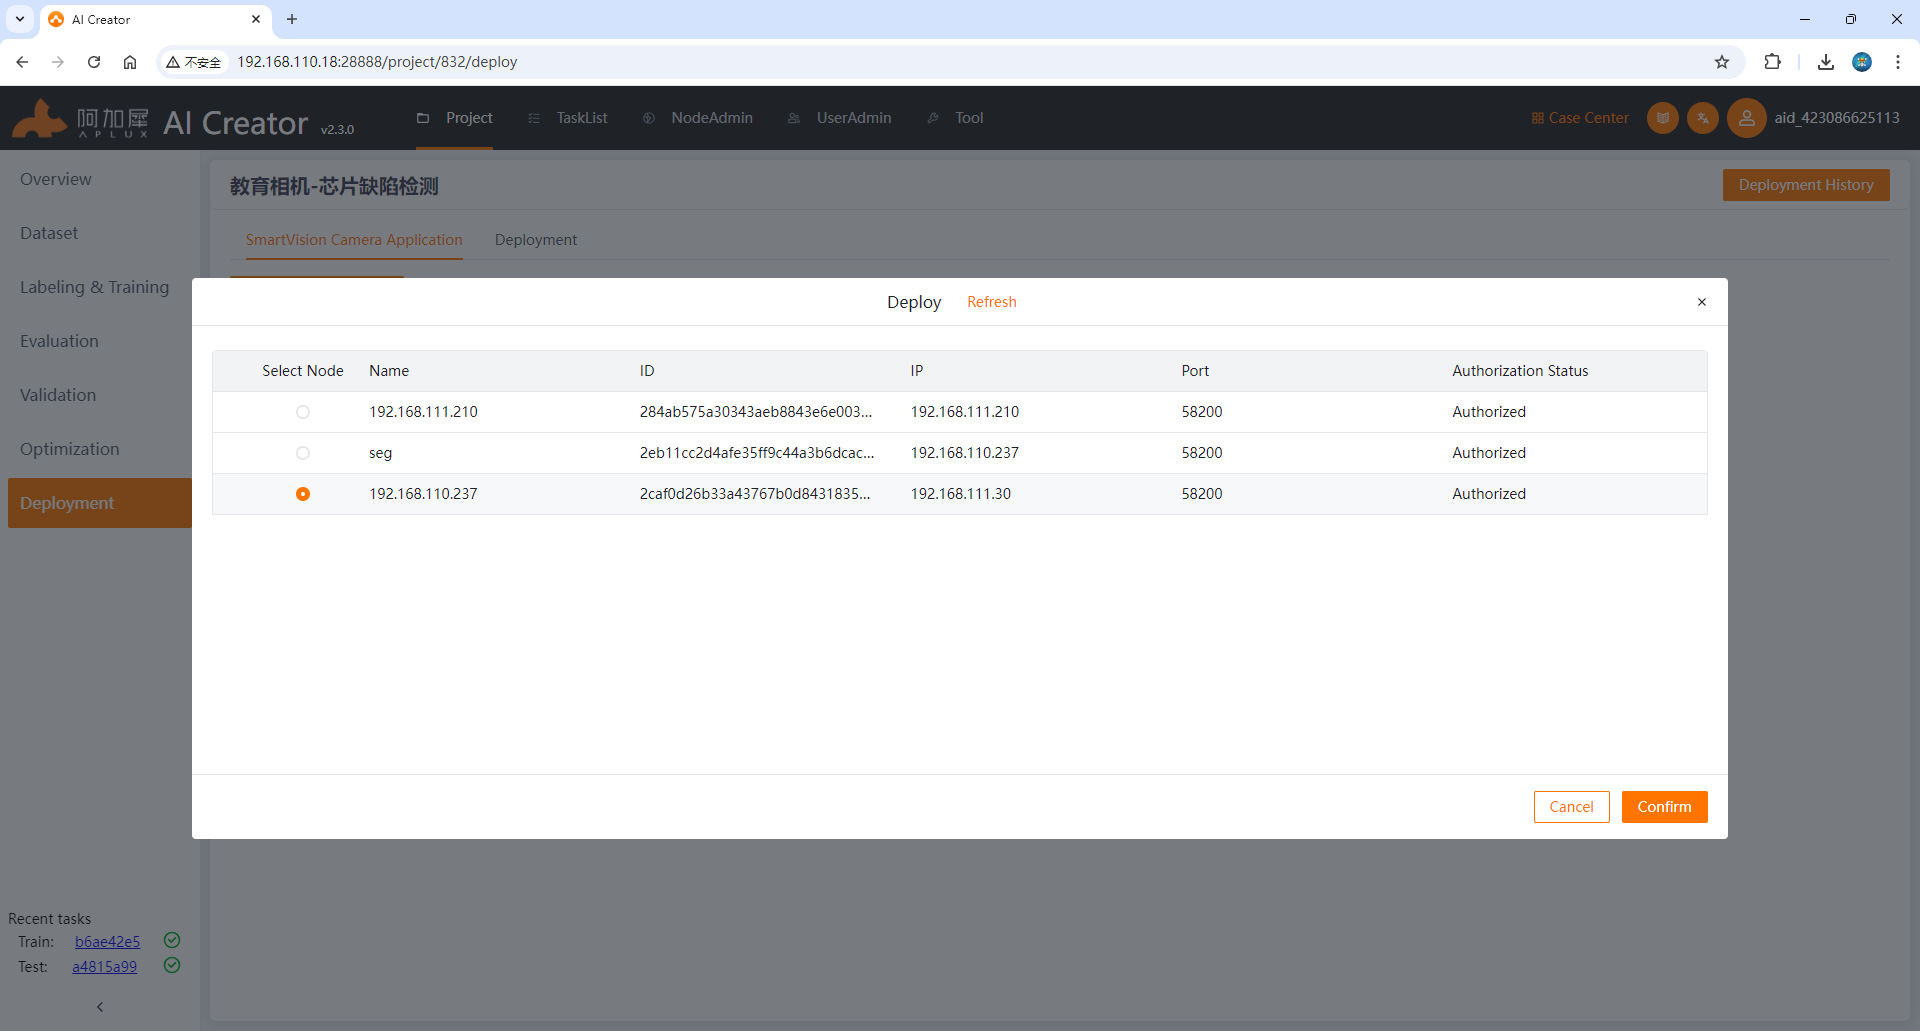
- After the smart camera is successfully integrated, return to the application generation interface of the project, select the smart camera application generated in the previous section and click [ Deploy], then select the integrated smart camera node and click [ Start Deployment]
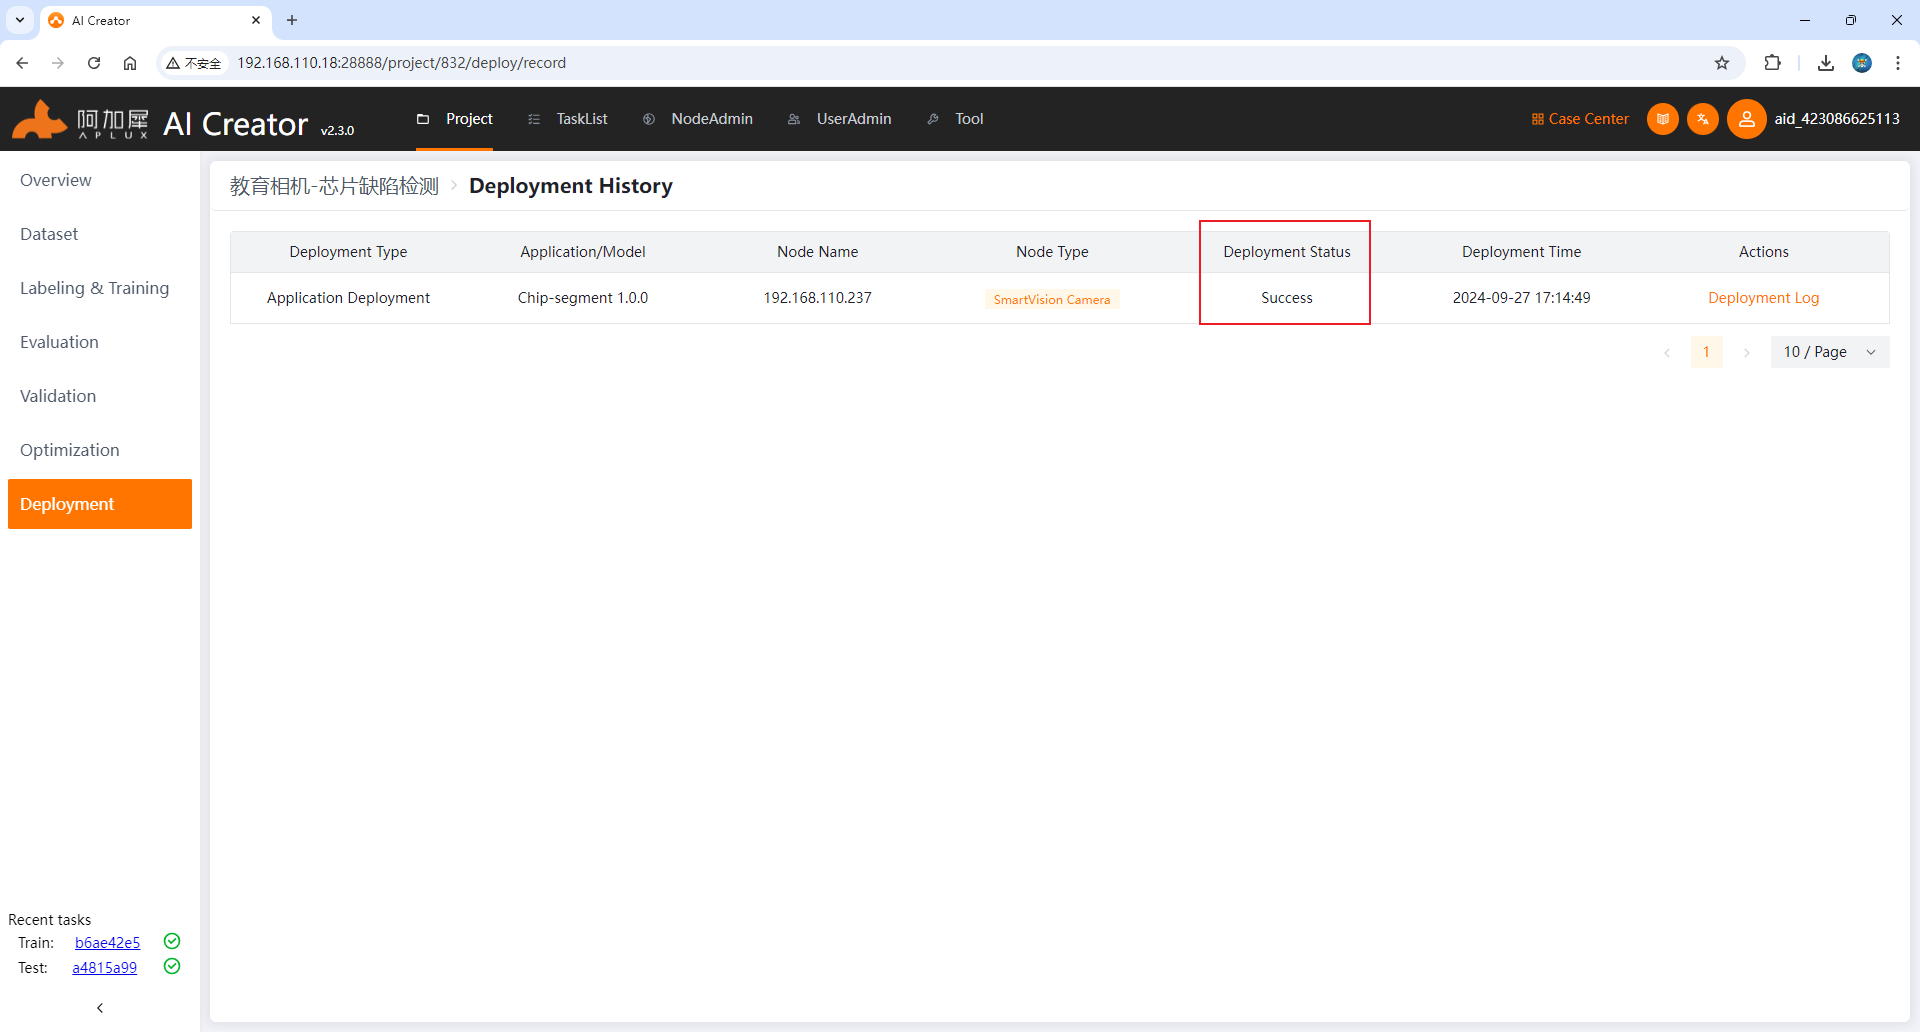
- After clicking, it will jump to the [ Deployment Record Interface]. When the [ Deployment Status] is successful , it means that the application has been deployed.
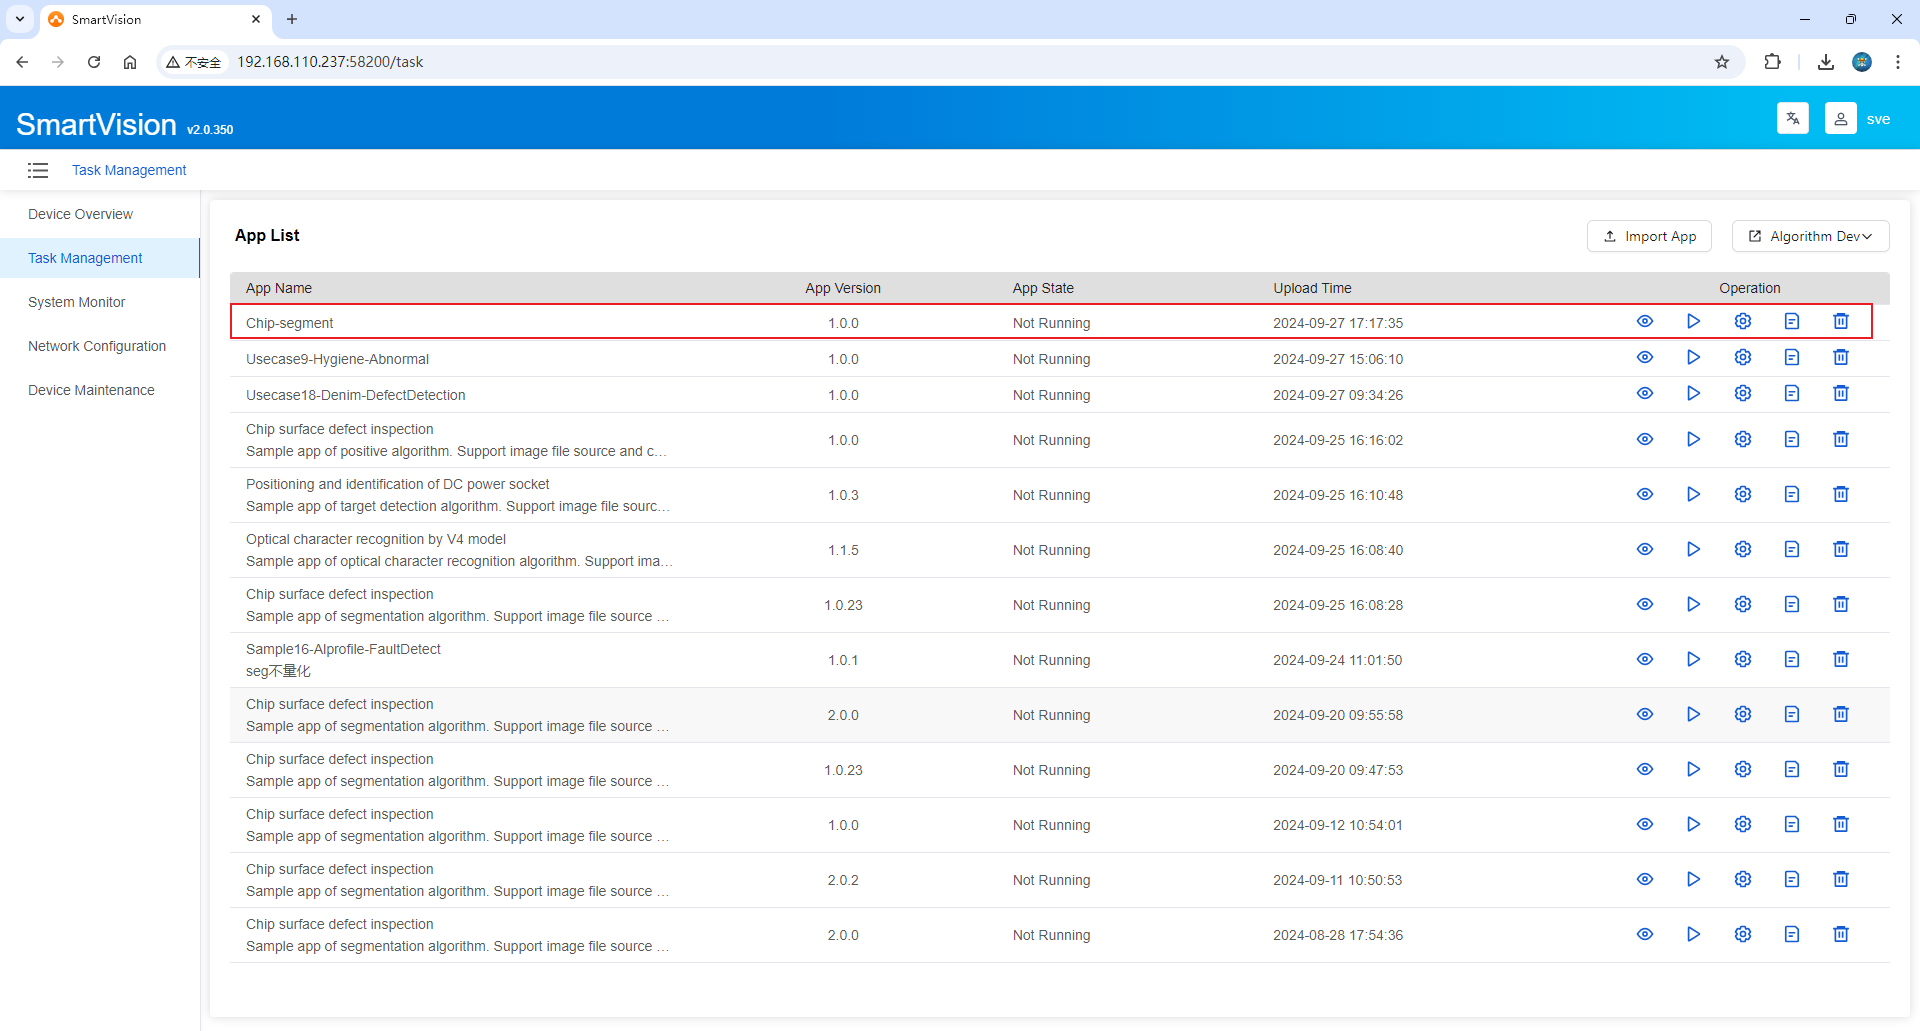
- Return to the smart camera interface to view the application list. A new piece of data has been added, which means the deployment is successful. Run it to see the inference effect.
Preview running effect
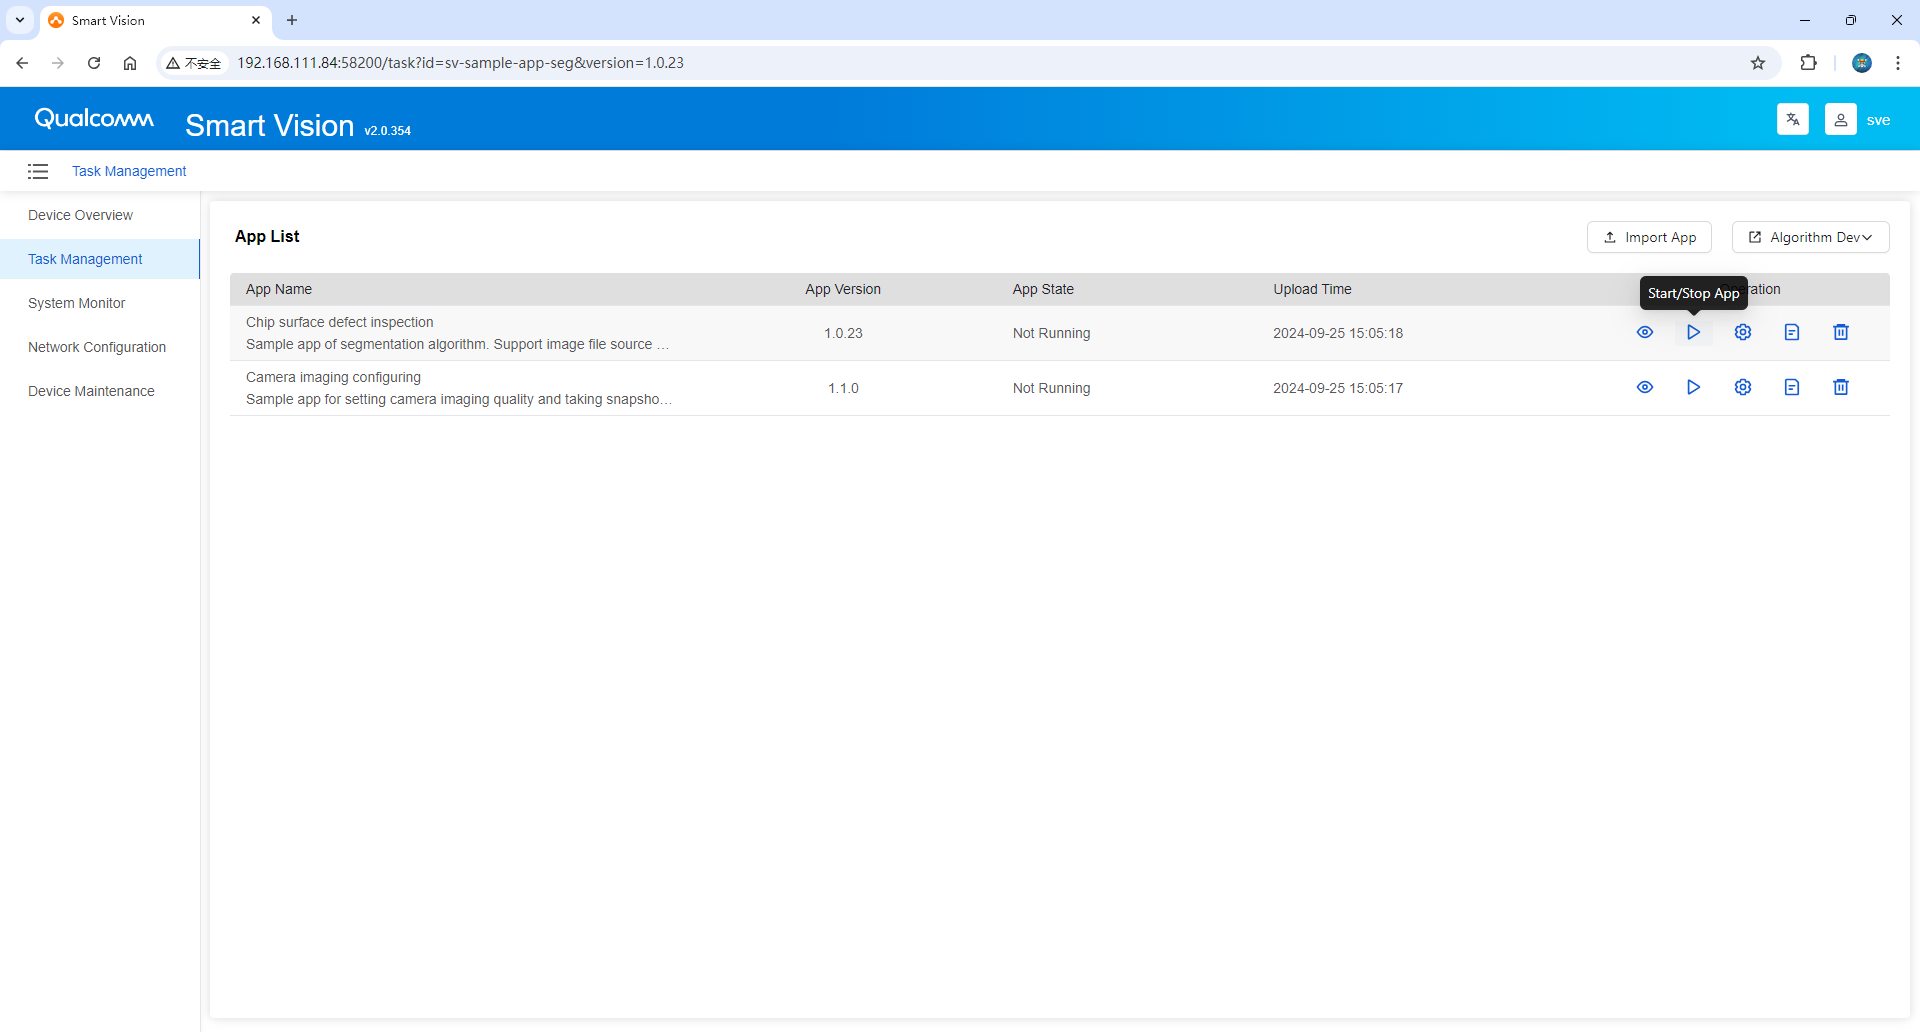
- Click the [ Start/Stop Application ] button in the list to run the application example.
- Click the [Run Preview] button to view the running effect.
