QT 开发指南
QT5开发环境
1. 确认相机qmake编译环境
执行 qmake 判断是否安装 qmake 命令。
bash
# 未安装qmake
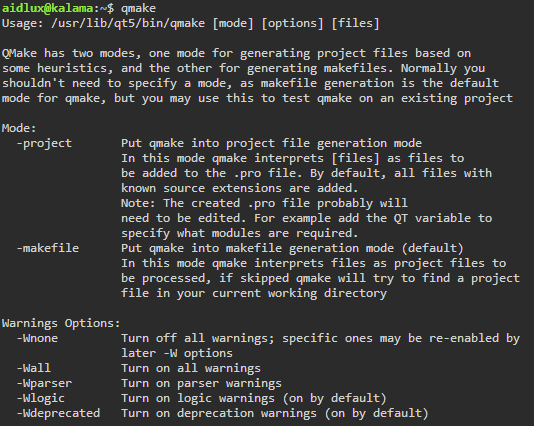
aidlux@aidlux:~$ qmake
bash: qmake: command not found如果没有安装,执行以下命令安装 qmake。
bash
aidlux@aidlux:~$ sudo apt-get update
aidlux@aidlux:~$ sudo apt install qt5-qmake
安装完成后,执行 qmake 命令出现帮助信息即为安装成功,如图所示:
2. 安装qt核心模块
安装必要的核心模块
sudo apt update
sudo apt install qtbase5-dev
💡注意:
如果需要使用QT框架的其他模块,请自行安装
3. 编译源代码
示例代码:
main.cpp
#include <QApplication>
#include <QWidget>
int main(int argc, char *argv[])
{
    QApplication a(argc, argv);
    QWidget w;
    w.show();
    return a.exec();
}
test.pro
QT += core gui widgets

SOURCES += \
    main.cpp \
编译程序:
bash
# 进入示例应用目录
aidlux@aidlux:~$ cd ~/test

# 执行编译命令
aidlux@aidlux:~/test/$ mkdir build
aidlux@aidlux:~/test/$ cd build/
aidlux@aidlux:~/test/build$ qmake ..
aidlux@aidlux:~/test/build$ make
编译完成后,会在应用build目录下生成可执行文件 test

运行程序:
使用HDMI直连相机后,运行程序,将显示出示例的QT桌面应用窗口
bash
# 运行示例应用
aidlux@aidlux:~/test/build$ ./test
💡注意:
QT桌面应用 必须在由HDMI直连相机下的Linux桌面进行显示
桌面开发环境差异
aidlux桌面
对GPU有着更好的支持,因此推荐使用Smart Vision SDK的FD方案接口
需要程序自行在循环内部,通过获取零拷贝的相机视频流套接字,得到更高的渲染性能
# 打开相机
int start_camera(int8_t idx)

# 获取视频流套接字
int get_fd_with_meta_extern(int idx, AidluxSocketfdInfo &out_meta)

# 关闭相机
int8_t close_camera(int8_t idx)
xfce4桌面
本身对GPU的兼容性较差,因此推荐使用Smart Vision SDK的共享内存方案接口
无需自行控制调用频率, 通过回调函数直接获取到YUV图片数据
# 无参形式使用默认配置 打开相机
int start_camera_without_parameter(GetImageCB cb, int8_t preview, int8_t idx)

# 启动图像捕获
void start_camera_capture(int idx)

# YUV格式图像数据转BGR格式
bool yuv_to_bgr_thumbnail(cv::Mat &destMat, int srcSliceHeight, int srcYPlaneStride, int planeOffset, void *memdata, int idx)

# 停止图像捕获
void stop_camera_capture(int idx)

# 关闭相机
int8_t close_camera(int8_t idx)